Imagine a world where YOU have full control over push notifications on your WordPress site. No complicated third-party apps, and all data safely stored on your server.
In this article, you will learn how to:
- Build successful Push notifications.
- Add a free Notification Plugin to WordPress.
- Install and set up Push Extension.
- Work with different notification scenarios.
Push notifications can get you twice as much CTR than marketing emails. Users are less keen to go through their already cluttered inboxes than to allow for push notifications with just one simple ‘click’.
Push notifications on WordPress done the right way can be simple, easy to set up, and very effective marketing tools.
- Struggling with abandoned carts?
- Not enough engagement on freshly posted content?
- Want more friction?
According to BusinessOfApps, opt-in rates for Push notifications go as high as 81% for Android users, and the average US smartphone user receives more than 45 notifications per day.
Another study proved that CTR’s, depending on the industry, can reach a whopping 30%. Just use rich formatting and emojis, tailor the offer, and don’t bombard your user with constant information streams.
Push notifications for WordPress – The Good, The Bad, The Unexpected
You hate when an out-of-context, not-interesting push notification pops up on your computer screen, don’t you? That’s your first hint on how to create convincing, useful push notifications.
Valuable
User-centric, valuable notifications are always the key to success. Make it personal and useful. If you are running e-commerce, informing your clients about the end of your price cuts is a great idea. But do they care about changing your business venue?
Simple
A simple, actionable and easy to understand message works best. Don’t overthink it.
👍 New Jordan’s for the summer? See our -30% price deals!
❌ Find new boots, shirts, hats, and other garments for the next summer with our annual price cuts.
(Yes, we used emojis to get your attention.)
Scheduled
There is a good time for notifications and a terrible one. Good = two days after the cart was abandoned. Bad = 2 seconds or 2 years after the cart was abandoned. It can be a head-scratcher, but there is nothing wrong with trial and error.
Different schedules work better for blog posts, different for WooCommerce sales. Try researching your specific industry and use case.
The Bad and… The Unexpected
Livechat company Helplama found 1 to 4 push notifications once a week made at least 10% of their users drop. But when they increased to sending more than 20 notifications a week, only 5% of users opt-out. Certainly, you need to find your solution (which is super-easy with our Push Extension).

Notification : PRO All-In Bundle
$299 / YEAR
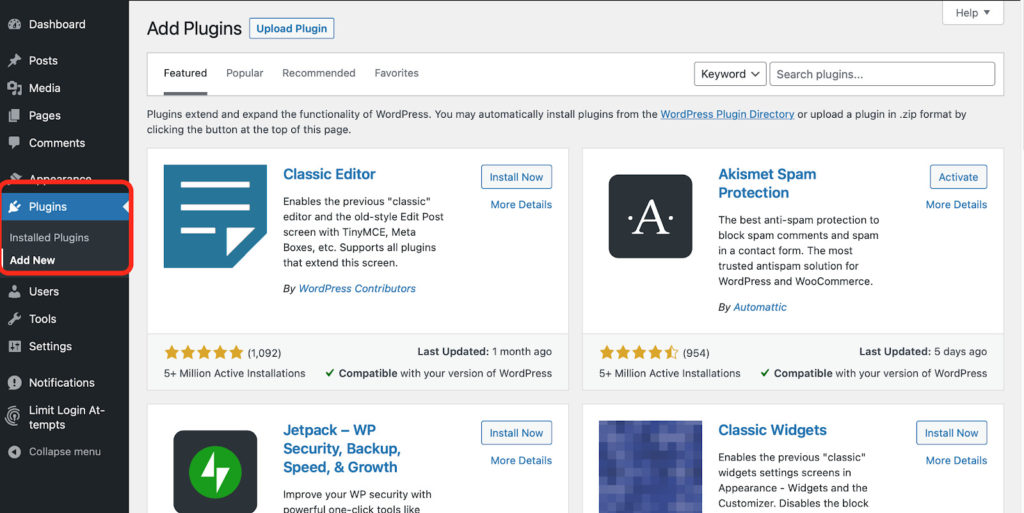
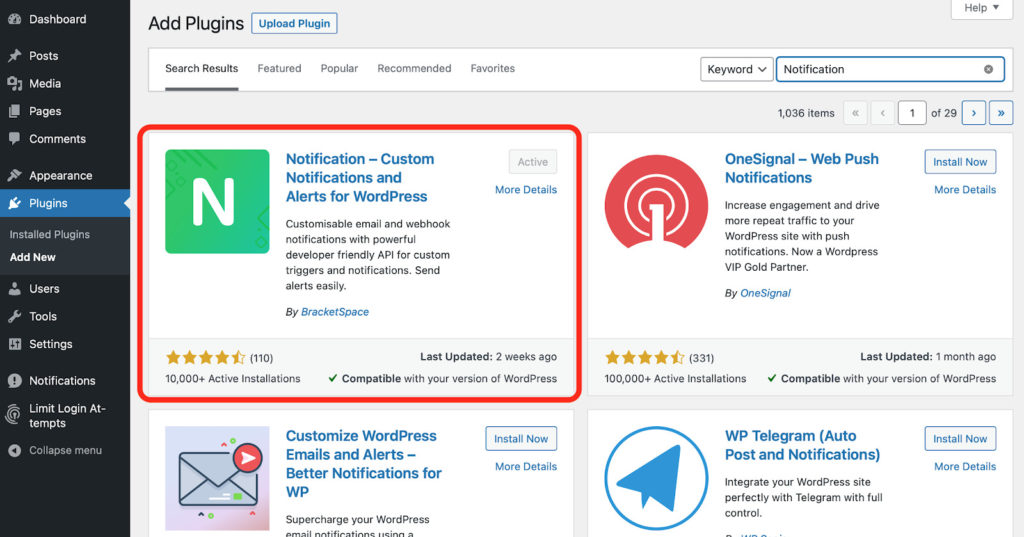
Start with installing the Notification Plugin
Our Push Extension is a part of the Notification Plugin and a bigger ecosystem of extensions (that gives control back to you). The Notification Plugin is and always will be free.
Different extensions, integrating to a massive array of apps, are paid Pro options – but bear with us: you get a 14-day, no question asked money-back guarantee for every extension purchase. You can also buy more than one extension in a bundle.
To start working with Push, first, install the Notification Plugin.
1. Install and set up the Notification Plugin
Download and activate the free Notification Plugin from WordPress.org. In the free version, you get email notifications and webhook carriers.
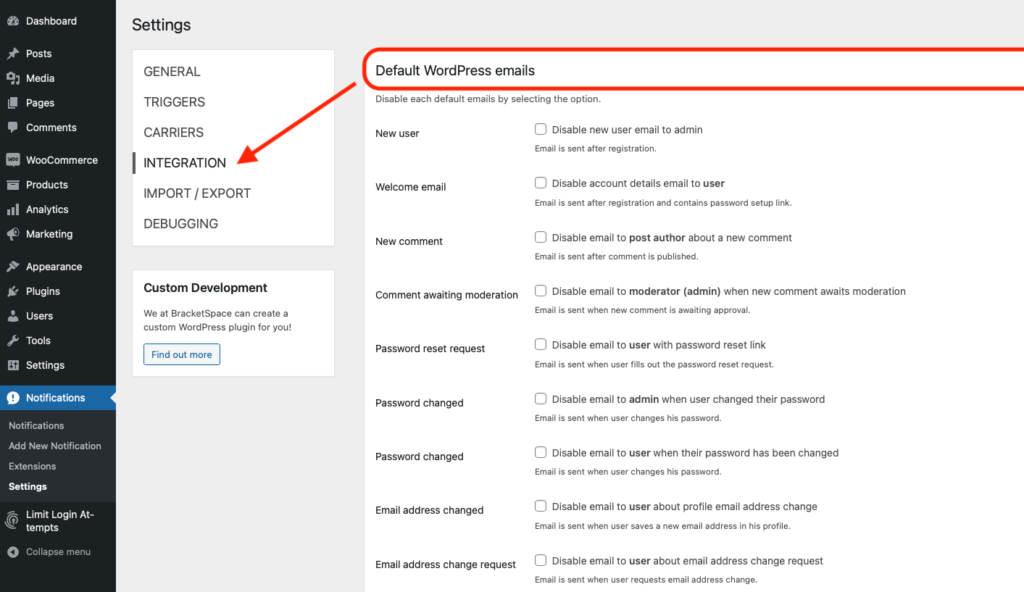
PROTIP: You can disable default WordPress notifications emails from Notification Plugin settings. Works perfectly for users who want to control all the notifications within the Notification Plugin.
2. Add Push Extension
Open the Notifications menu from the sidebar. You can find your notifications, settings, and extensions there.
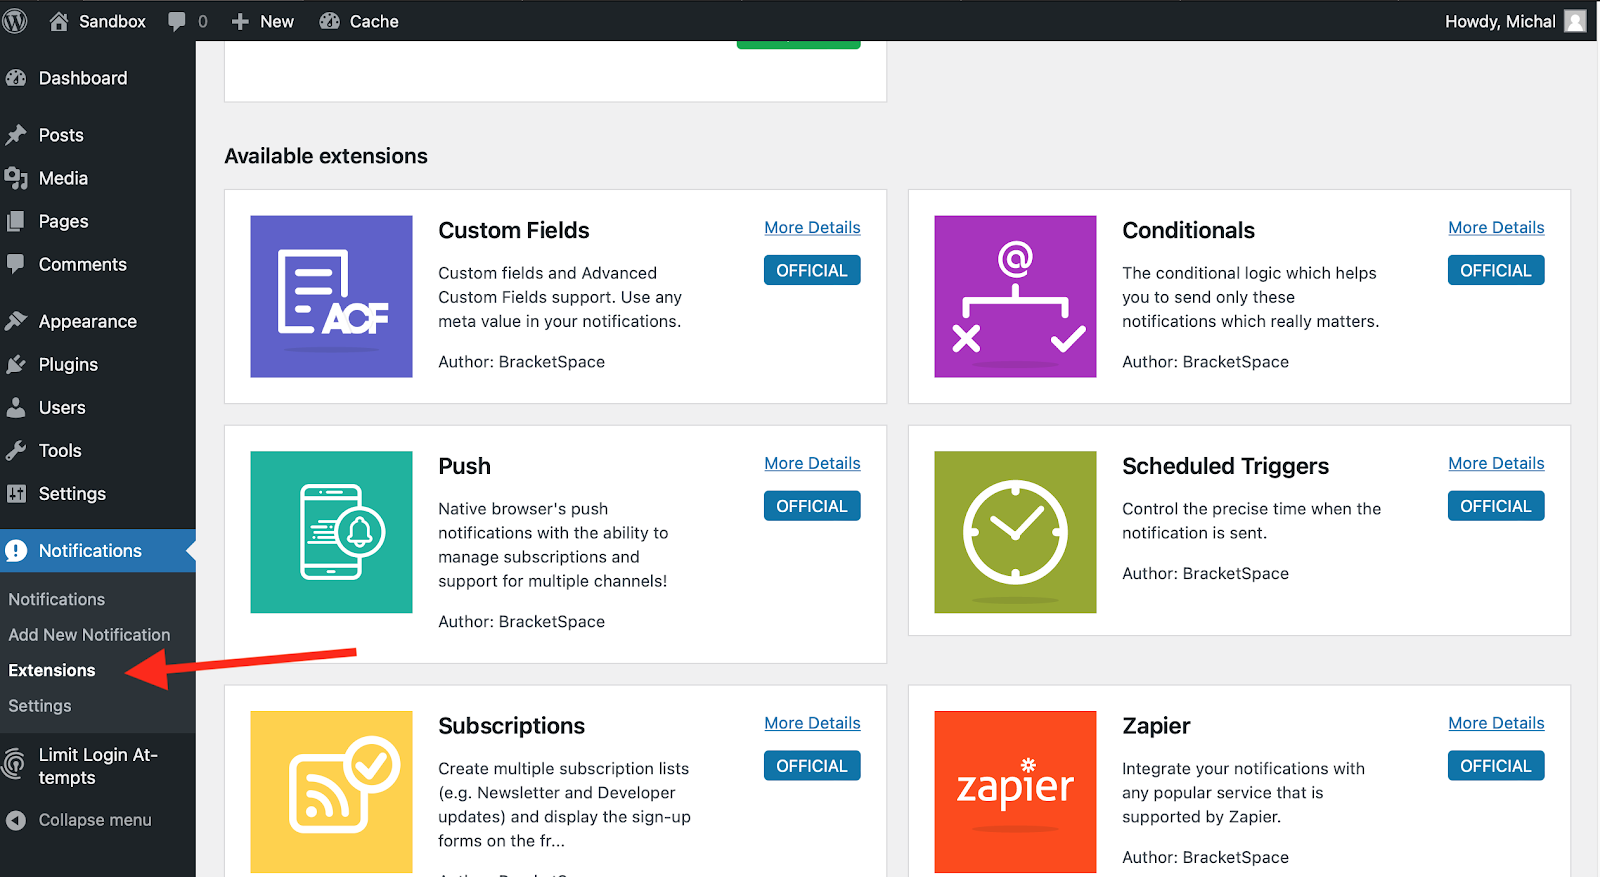
Click Extensions and choose Push. Selecting More Details will transfer you to BrackeSpace’s plugin page.


Setting up Push Notifications for WordPress
After adding Push Extension, start setting it up. Carriers setup is concentrated in plugin settings.
- Open > Notifications in the sidebar and select > Settings.
- Click > Carriers and scroll down to Push.
- Now, you can set up the Extension. Generate or add your VAPID* key, set Pop-Up permissions, or turn on subscribing to push notifications only to logged-in Users.

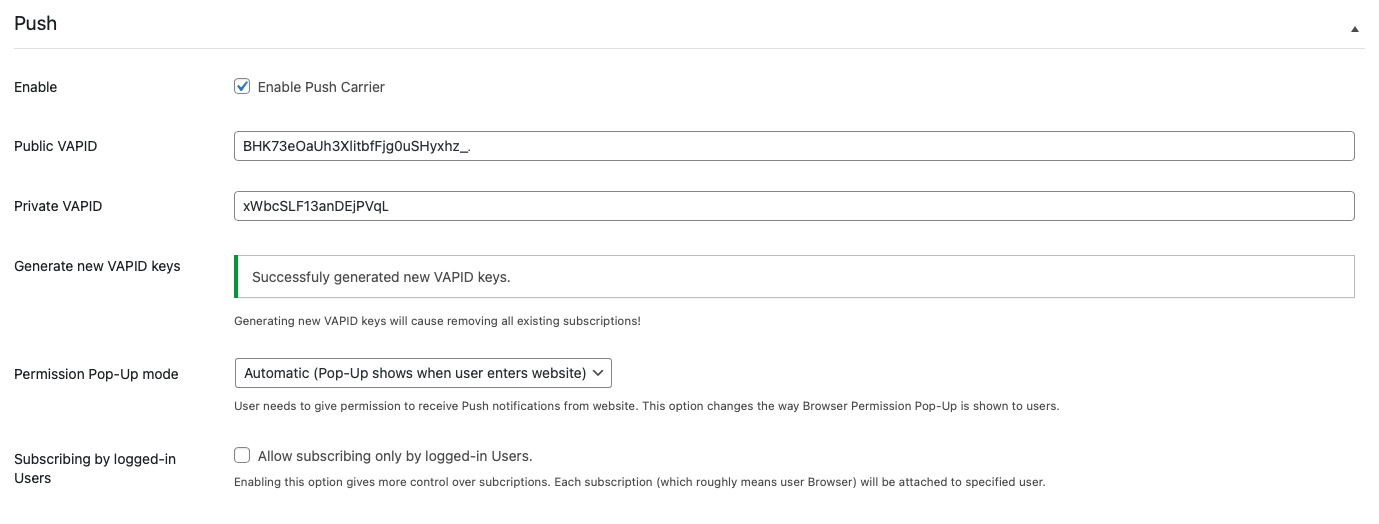
*VAPID key is a way to identify your server when sending web push notifications to browsers. VAPID stands for Voluntary Application Server Identity.
Adding your first WordPress push notification
Now, you’re ready to add your first notification. Before you do, there are two concepts that you should know:
- Triggers – actions that start a chain of reaction. A Trigger can be connected to default WordPress objects like posts, users and comments, but also to 3rd party apps. For example, adding a new product to a WooCommerce store can be a Trigger. The list of our Triggers is huge, to accommodate your needs.
- Carriers – our messengers that carry the information to the end recipient. Simple email is a Carrier, but also Slack, Discord, Push and other services.
To properly add notification scenarios, you need to choose your Triggers and Carriers. One Trigger can be connected to more than one Carrier.
- Open > Add New Notification.

- Pick your Trigger. For example > Product added to cart (more on that use case below).
- Select a Carrier > Push.
- Set up Push notification. Below is a simple description:
- Title – well… yeah… a title of your push message.
- Content – contents of your push notification (try finding value for your users!).
- Urgency – if your notification isn’t extra important, you can spare some battery life for mobile users and set urgency on “Low”. In most cases, “Normal” will work just fine.
- Icon – preferably the logo of your company, use square images.
- Image – a small image of your push notification. Doesn’t work on every browser, but certainly, it’s a good idea for enhancing conversion rates.
- URL of Notification – a place where your user will be redirected.
- Recipients – you can decide whether everybody is getting this notification or a certain group of users.
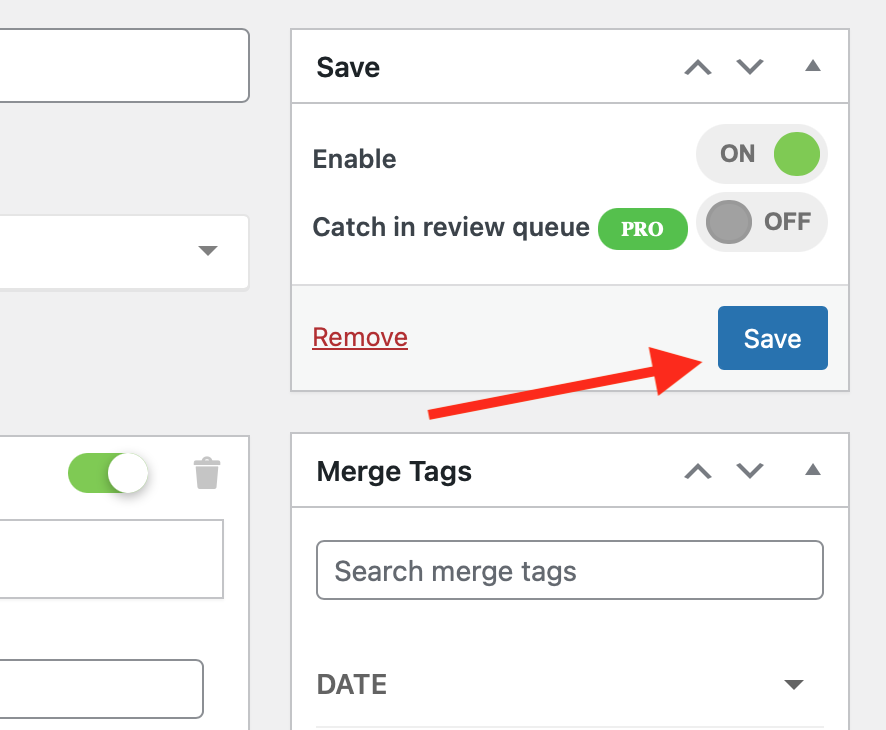
- After setting up your perfect scenario, remember to hit the Save button at the top of the right corner.
That’s it! Your first push notification is ready to deploy.
Push with Conditionals – example
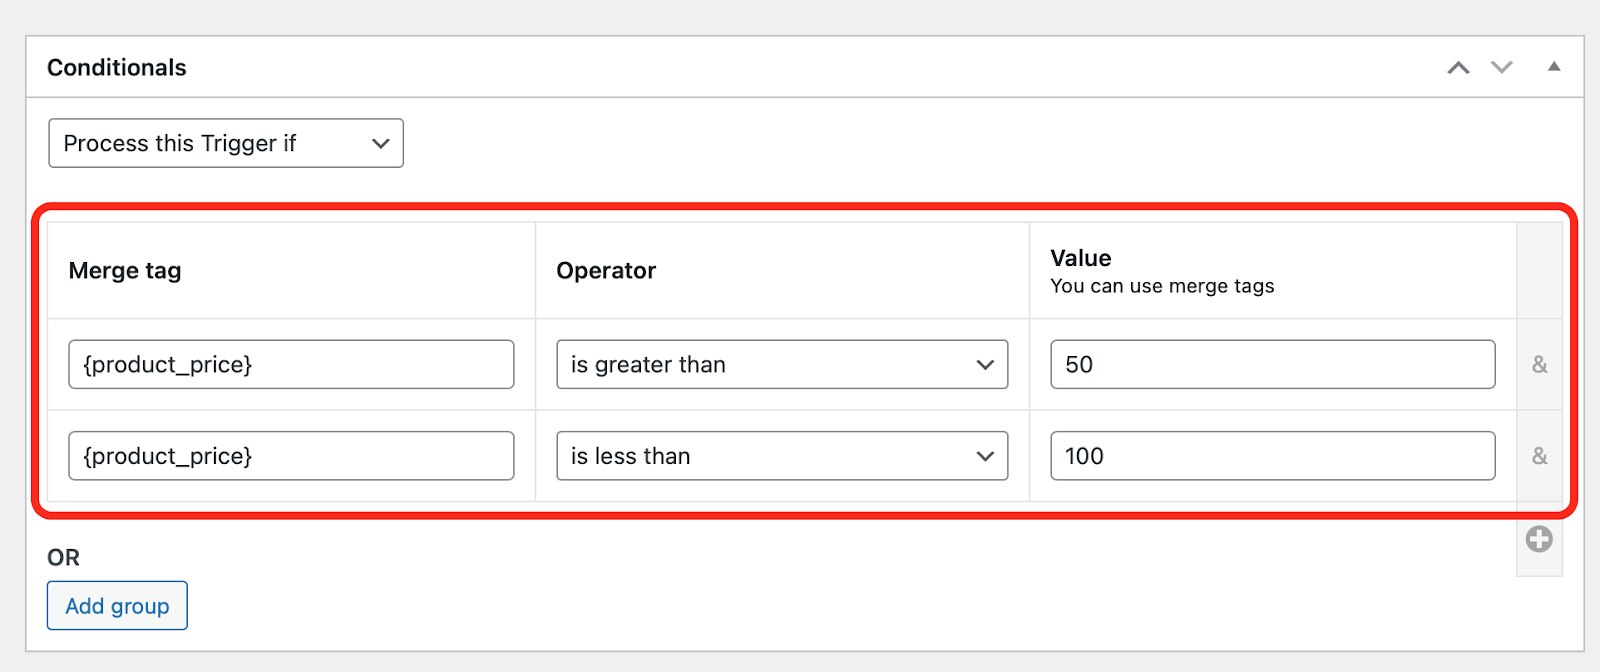
Ok, let’s see Push notification in action, combined with Conditional Extension. In this scenario, we would like to notify a user that he or she can reach free shipping in our imaginary e-commerce business.
- We use Trigger > Product added to cart (you need WooCommerce installed).
- Carrier is set to > Push.
- The title and content are filled with simple messages.
Alt text: Setting up Push notification on WordPress using Notification’s Plugin extension. - At the bottom, we use Conditional Extension to set up conditions to be met for this push notification to be triggered. In this example – we use the merge tag {product_price}.

How to add subscribers?
Finally – adding subscribers to push notifications. On the front-end, you can simply use the [notification-push-subscribe-button] shortcode that prints the subscription button. It works in widgets, pages, and posts.

For more information, check out the plugin documentation.
Money-back Guarantee
WordPress Notification Plugin is and always will be free. Push Extension costs $49 a year, with a 14-day money-back guarantee and cancel-anytime policy. You also get one year of upgrades and support. The license is transferable. Check full pricing HERE.