As a marketer diving into the technical realm, I’ve often highlighted the benefits of implementing a notification strategy on WordPress sites. Now, it’s time to delve into a more technical yet crucial topic: the role of administrative notifications in WordPress site management. This exploration takes us into areas more specialized but no less vital for developers and site administrators, a journey made possible with the support of our development team.
Our article, seeks to uncover WordPress’s complex customization capabilities, particularly regarding enhancing administrative notifications. These notifications play a pivotal role in site management, user engagement, and workflow optimization. We’ll discuss advanced techniques for creating dynamic, personalized notifications and introduce the Notification plugin for those less familiar with coding.
This piece aims to equip WordPress developers and administrators with the knowledge to leverage notifications for improved productivity and site customization. I extend my heartfelt thanks to the technical team for their support, enabling me to present this topic in a clear and comprehensive manner
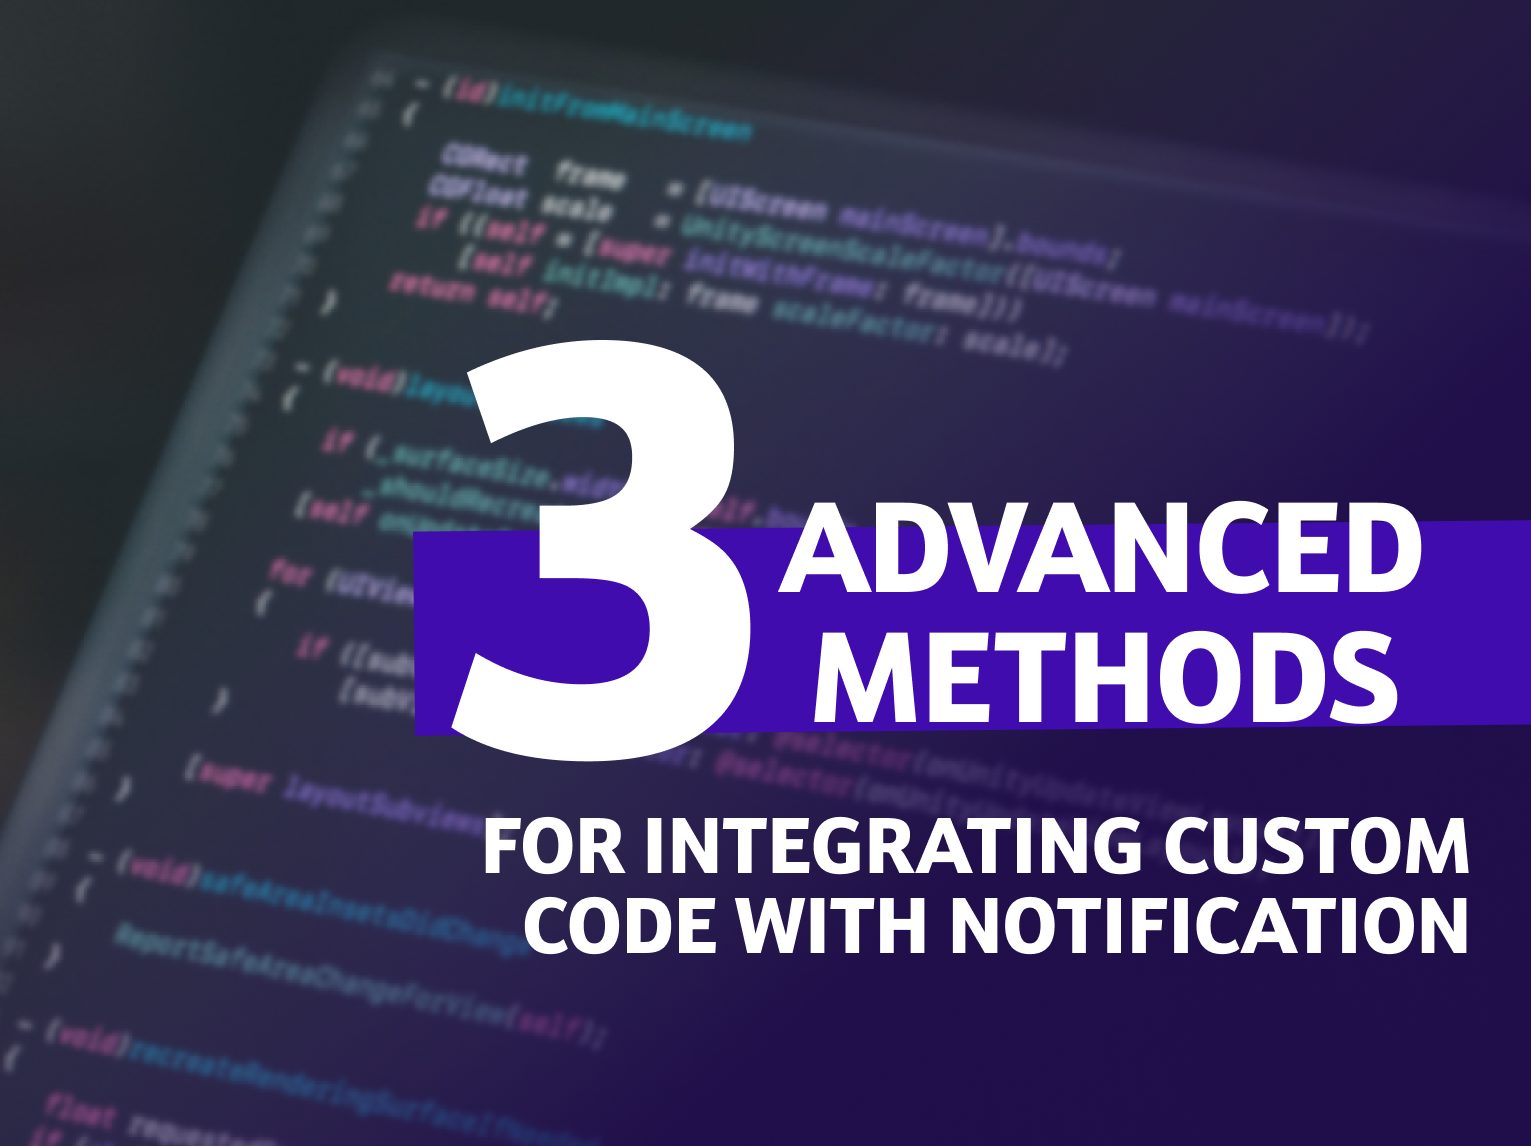
Method 1: WordPress Hooks and Filters
WordPress is renowned for its extensive set of hooks and filters, empowering developers to modify default administrative notifications and create custom ones. This versatility enables you to tailor notifications to meet specific requirements, enhancing the admin dashboard’s functionality and user experience.
Hooks and Filters – quick overview
Hooks and filters are the cornerstone of WordPress development, allowing for the alteration of the platform’s default behavior without modifying the core files. Hooks come in two flavors: actions and filters. Actions let you insert additional code at specific points within WordPress, while filters allow you to modify data before it’s sent to the database or displayed to the user.
Customize the New User Notification to User Email
To enhance the registration process on your WordPress site, you can customize the email notifications sent to new users. This customization can be achieved by either modifying your theme’s functions.php file or by creating a dedicated plugin for more durability, especially useful if you frequently update or change your theme.
Creating a Custom Plugin for Email Notifications
A more robust solution than modifying your theme’s functions.php file is to create your own plugin. This method ensures that your customizations are preserved through theme changes and updates. Here’s how you can create a simple plugin to customize new user notifications
Set Up Your Plugin
Create a new folder in your wp-content/plugins directory, e.g., welcome-email. Inside this folder, create a PHP file, welcome-email.php.
Add the Following Code to Your Plugin File
<?php
/**
 * Plugin Name: Custom Welcome Email
 */

add_filter('wp_new_user_notification_email', 'my_new_user_notification_email', 10, 3);

function my_new_user_notification_email($wp_new_user_notification_email, $user, $blogname) {
    $message = "The message you want" . "\r\n\r\n";

    $wp_new_user_notification_email['message'] = $message;
    $wp_new_user_notification_email['headers'] = "From: Your Name<[email protected]>";

    return $wp_new_user_notification_email;
}
Activating Your Plugin
Activate the plugin through the WordPress plugin menu.

This custom plugin allows you to alter the email notification sent to new users. You can customize the message body, sender information, and other properties. Remember, if you need to prevent admin emails on new user registrations, you’ll need to include additional overrides in your plugin.
Following these steps, now you can effectively customize the new user notification emails and enhance the user experience on your WordPress site without the risk of losing your changes on theme updates.
Method 2: Creating Custom Notifications with AJAX and the REST API
The ability to create dynamic and interactive notifications within the WordPress admin area can significantly enhance user experience. Leveraging AJAX and the WordPress REST API, developers can craft notifications that respond to user actions in real-time, providing immediate feedback without the need for page reloads. This method is invaluable for advanced applications and interfaces where standard notifications fall short.
Let’s explore how to set up a custom REST API endpoint for AJAX requests and use JavaScript to manage notifications dynamically.
Setting Up a Custom REST API Endpoint
The WordPress REST API is a flexible tool that allows you to create custom endpoints—perfect for handling AJAX requests for notifications.
Here’s a basic guide to setting up your endpoint:
add_action( 'rest_api_init', function () {
    register_rest_route( 'myplugin/v1', '/notify/', array(
        'methods' => 'POST',
        'callback' => 'my_custom_notification_handler',
        'permission_callback' => function () {
            return current_user_can( 'edit_posts' );
        }
    ) );
} );

function my_custom_notification_handler( $request ) {
    $parameters = $request->get_json_params();
    // Handle the notification logic here, e.g., validate parameters and send notifications.
    return new WP_REST_Response( array( 'message' => 'Notification sent successfully!' ), 200 );
}
This code snippet creates a new REST API endpoint at /wp-json/myplugin/v1/notify/ that accepts POST requests. The my_custom_notification_handler function is called when the endpoint is accessed, where you can insert your notification logic.
JavaScript for Dynamic Notifications
With your REST API endpoint in place, you can now use JavaScript to send AJAX requests and display notifications without reloading the page. Here’s an example using Fetch API:
document.addEventListener('DOMContentLoaded', function() {
    const data = {
        message: 'User action occurred',
        // Additional data here
    };

    fetch('/wp-json/myplugin/v1/notify/', {
        method: 'POST',
        headers: {
            'Content-Type': 'application/json'
        },
        body: JSON.stringify(data)
    })
    .then(response => response.json())
    .then(data => {
        console.log(data.message); // "Notification sent successfully!"
        // Display the notification in the admin area
    })
    .catch((error) => {
        console.error('Error:', error);
    });
});
This JavaScript snippet sends a POST request to your custom endpoint with some data. Upon success, it receives a response from the server and can use this response to display a notification directly in the admin area or perform other actions based on the server’s response.
Integrating AJAX with the WordPress REST API to handle notifications offers a robust solution for creating a more interactive and responsive admin interface. By following the steps outlined above, developers can implement custom notifications that enhance the user experience by providing instant feedback on their actions. As you become more comfortable with these technologies, you’ll find that the possibilities for enhancing your WordPress sites and applications are nearly limitless.
Method 3: Plugins for Custom Notification Management
While custom coding offers a high degree of flexibility and control over your WordPress site’s notifications, not every developer or site administrator has the time or resources to invest in such endeavors.
Fortunately, the WordPress ecosystem is rich with plugins designed to streamline and enhance notification management.
Among these, the Notification plugin by BracketSpace stands out as a particularly powerful and versatile tool. This chapter will explore how this plugin can be used to manage notifications more efficiently, and how it can be customized or extended to fit specific needs.
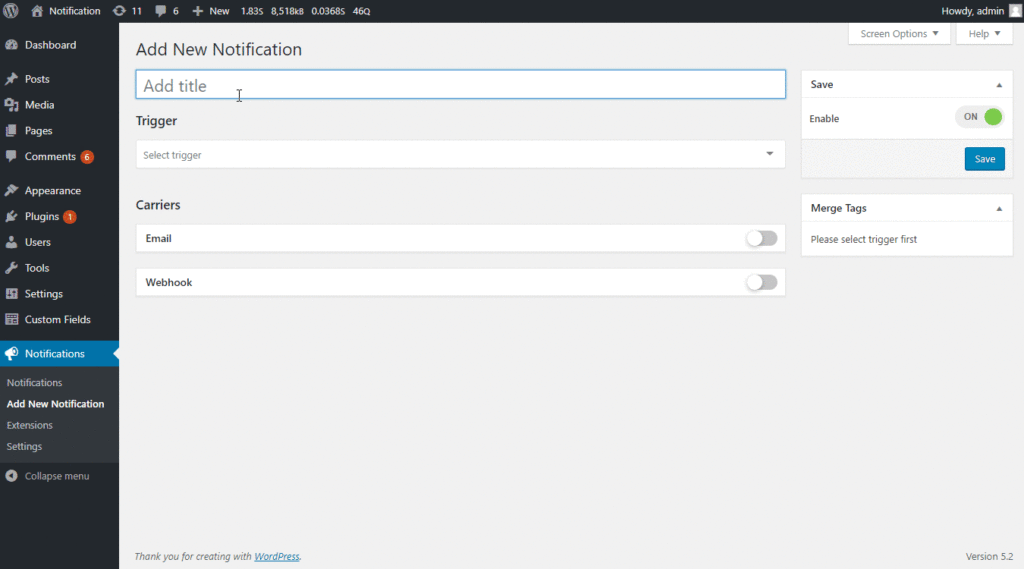
Setting Up a Custom Notification
Getting started with the Notification plugin is straightforward. Once installed and activated, you’ll find a new section in your WordPress dashboard dedicated to notification management. Here’s a simple guide to setting up your first notification:
- Navigate to the Notification section in your WordPress dashboard and click on “Add New.”
- Choose a Trigger: This is the event that will cause your notification to be sent. The plugin offers a wide range of triggers, such as publishing a post, user registration, or custom triggers defined by other plugins or themes.
- Configure the Notification: Depending on the trigger you’ve selected, you’ll be presented with various configuration options. These typically include the notification’s recipient(s), subject line, and message content. You can use merge tags to dynamically insert content related to the trigger event, such as a user’s name or a post title.
- Save and Activate: Once you’ve configured the notification to your liking, save your changes and activate the notification. It will now be sent automatically whenever the specified trigger event occurs.
Customizing and Extending Notifications
One of the strengths of the Notification plugin is its extensibility. Developers can create custom triggers and merge tags, allowing for highly personalized notifications tailored to the unique needs of their site or application.
Here’s a brief overview of how you might extend the plugin’s functionality:
- Custom Triggers: By hooking into the plugin’s actions and filters, you can define custom events that will serve as triggers for your notifications. This could include anything from a specific user action to updates in custom post types or fields.
- Custom Merge Tags: Similarly, you can define custom merge tags to insert dynamic content into your notifications. This is particularly useful for including information specific to your site or application that isn’t covered by the plugin’s default tags.
The Notification plugin for WordPress enables the creation and management of custom notifications, enhancing site communication capabilities without requiring custom coding. Its extensible architecture allows for adaptation to a broad range of needs, making it an invaluable tool for any WordPress site aiming to improve its notification system.
For those seeking advanced functionalities, paid extensions are available, offering:
- File Logging: Records all sent notifications in a text file on the server for easy tracking and debugging.
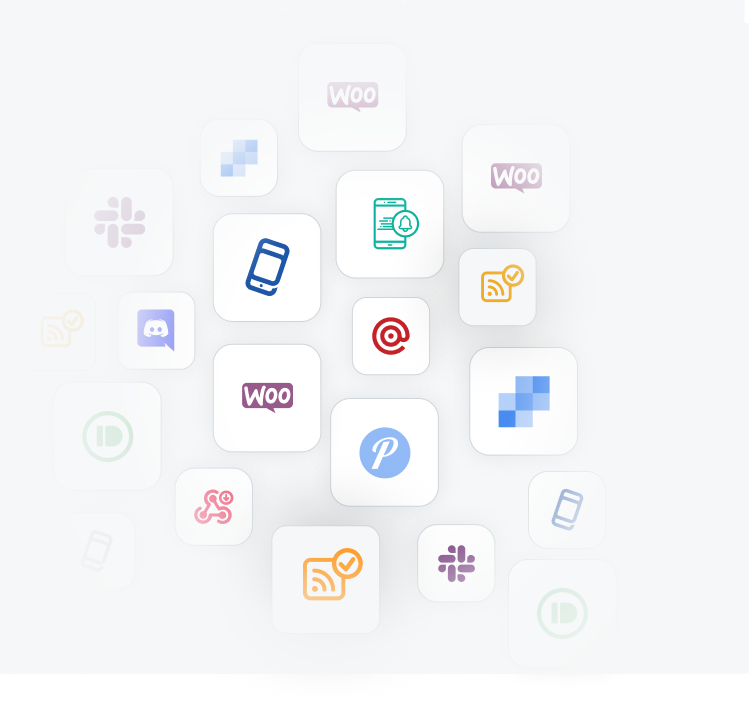
- Integration with Popular Apps: Supports sending notifications to Pushbullet, Slack, Discord, and Pushover, expanding communication reach and effectiveness.
- Custom Fields Support: Enables the addition of custom fields to notifications, allowing for the inclusion of site-specific data such as usernames, IP addresses, page links, dates, and times.
- Conditional Logic: Facilitates the creation of complex rules for sending notifications based on criteria like post type, status, category, tag, and user role.
These features make the Notification plugin a versatile asset for enhancing notification systems on WordPress sites,
Mastering advanced techniques to integrate custom code with WordPress administrative notifications opens up a world of opportunities to improve site management and user engagement. Whether it’s the direct application of hooks and filters, dynamic AJAX calls via the REST API, or streamlined performance of plugins such as Notification by BracketSpace, each method offers its set of advantages to suit different needs and skill levels.
For more tips, tricks and detailed guides on how to use WordPress to its full potential, don’t forget to follow our blog. Stay tuned for more posts aimed at expanding your WordPress knowledge and taking your notifications to the next level. Have fun coding!