- Plugins
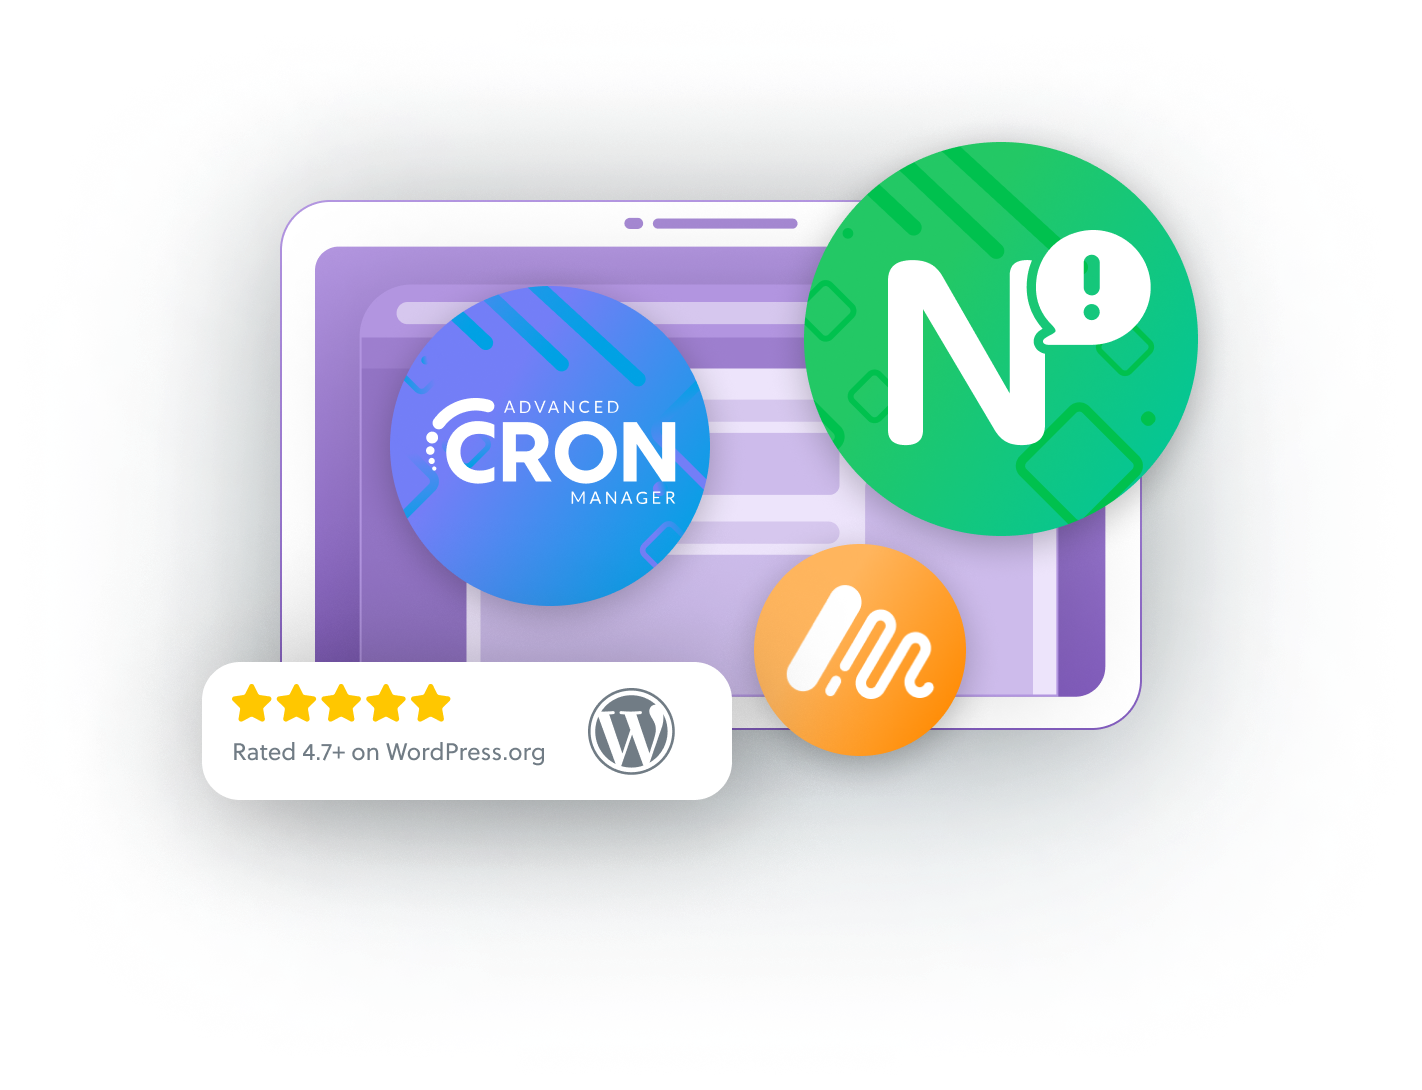
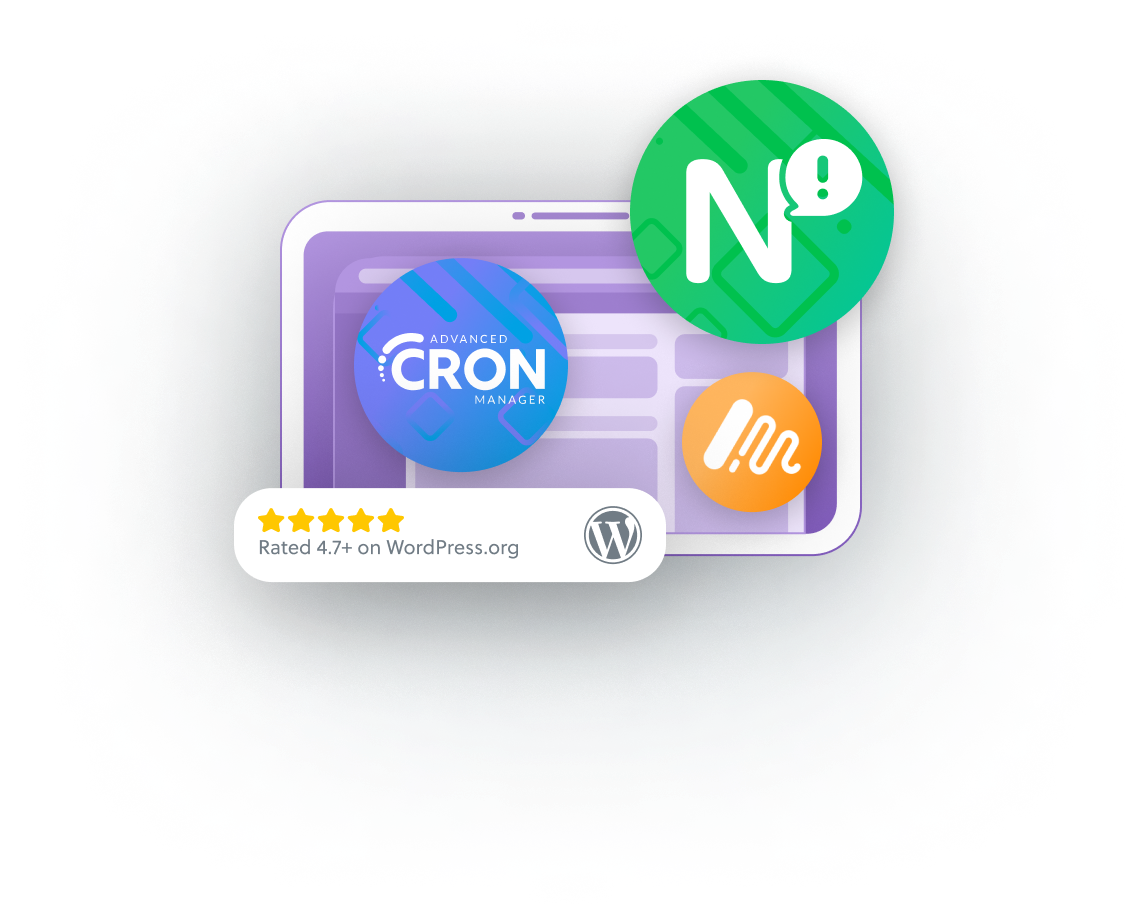
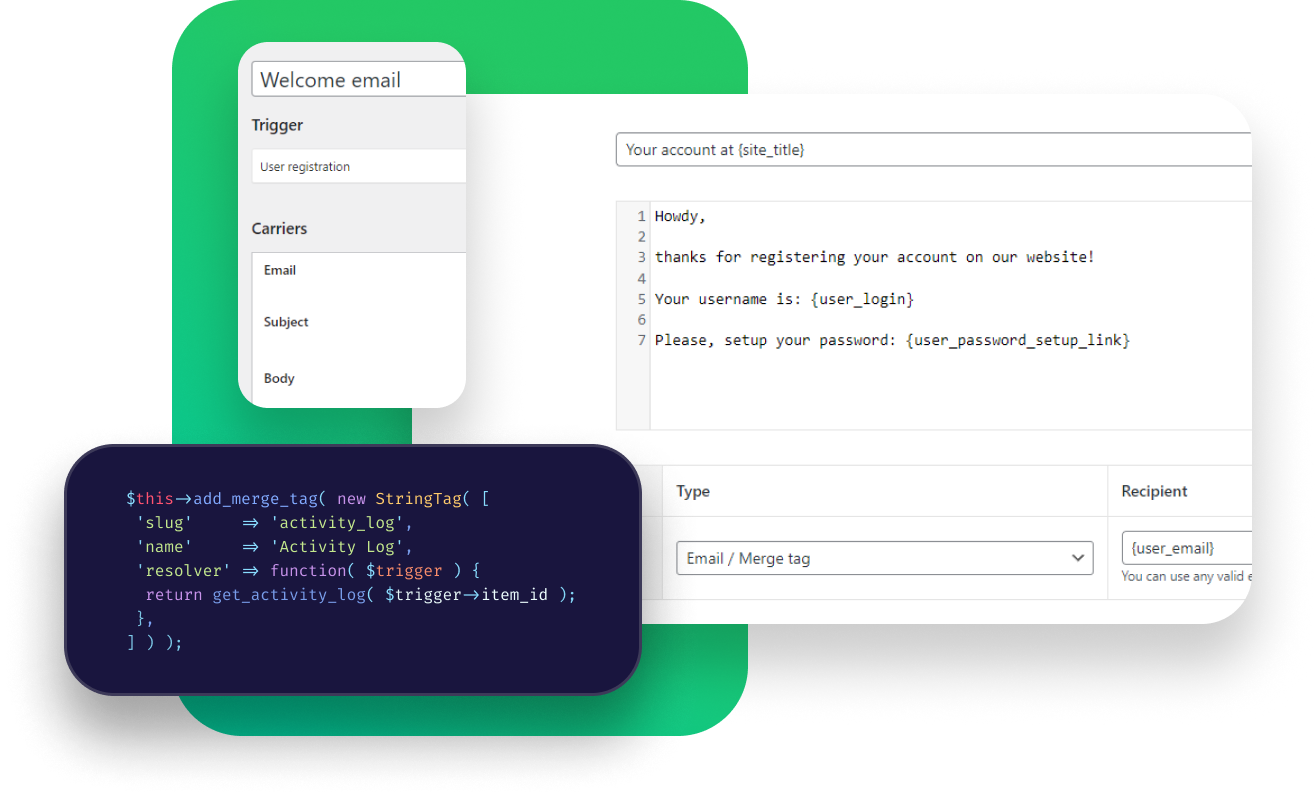
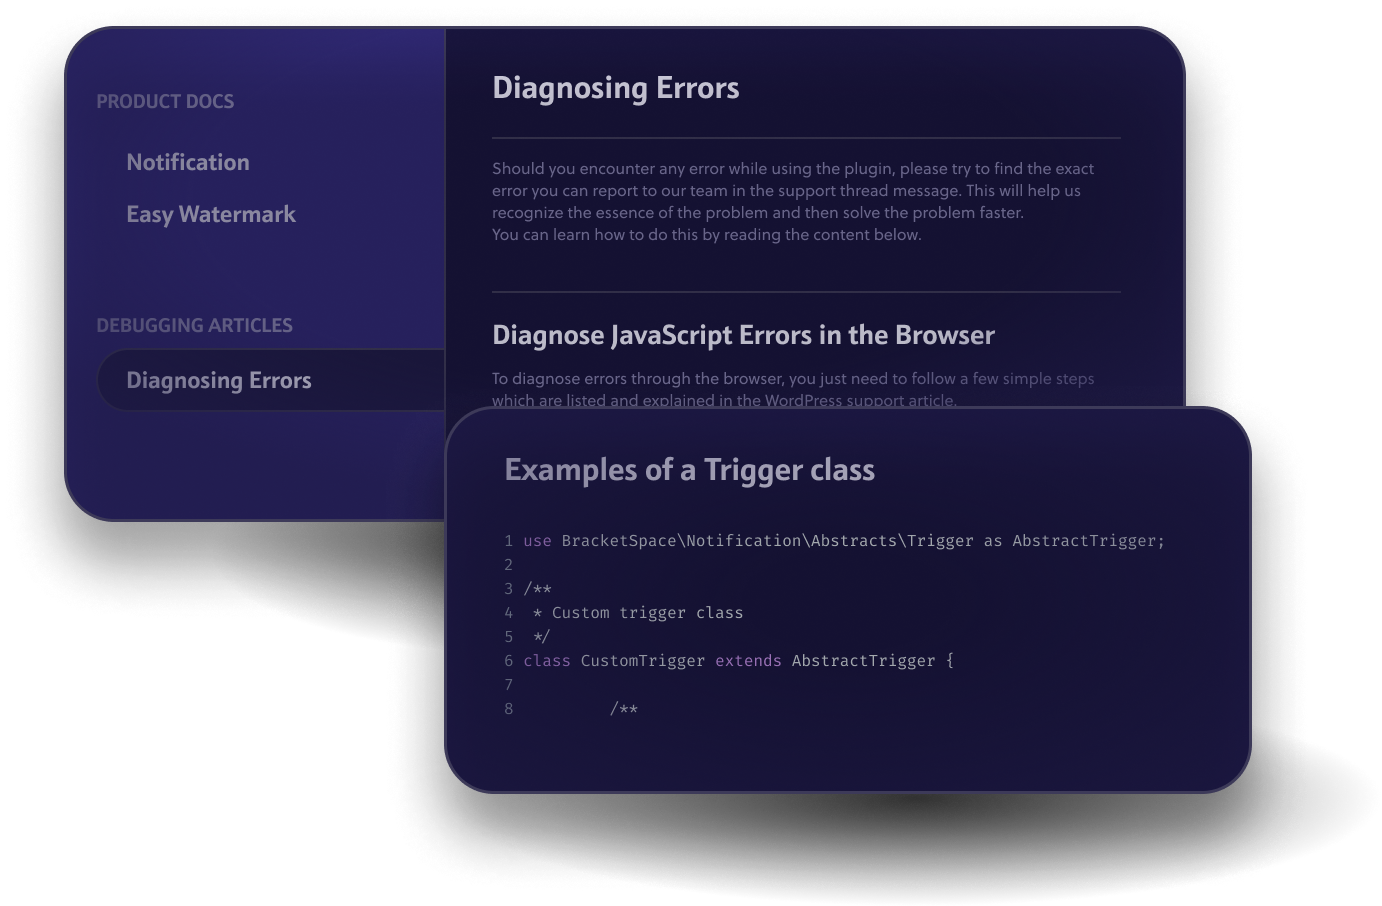
Notification for WP
Easy-to-use and developer-friendly notification system for WordPress.
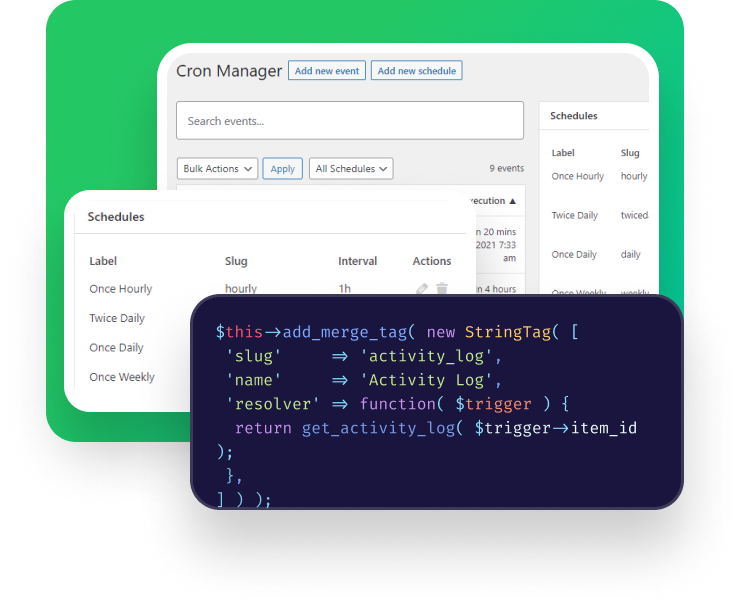
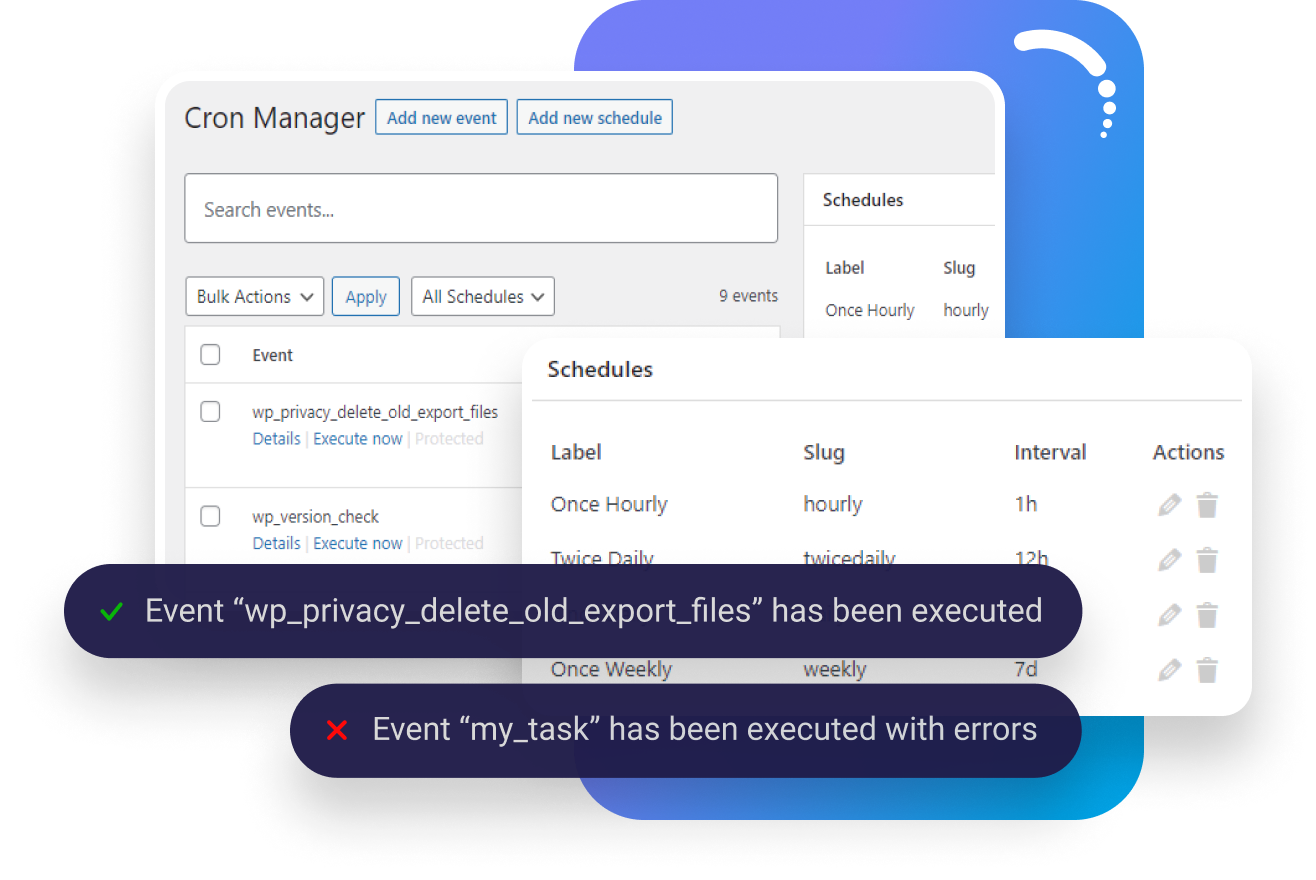
Advanced Cron Manager
Manage WordPress Cron like a PRO and get detailed insights into the WP Cron system.
Easy Watermark
Automatically watermark your WordPress media using image or text.
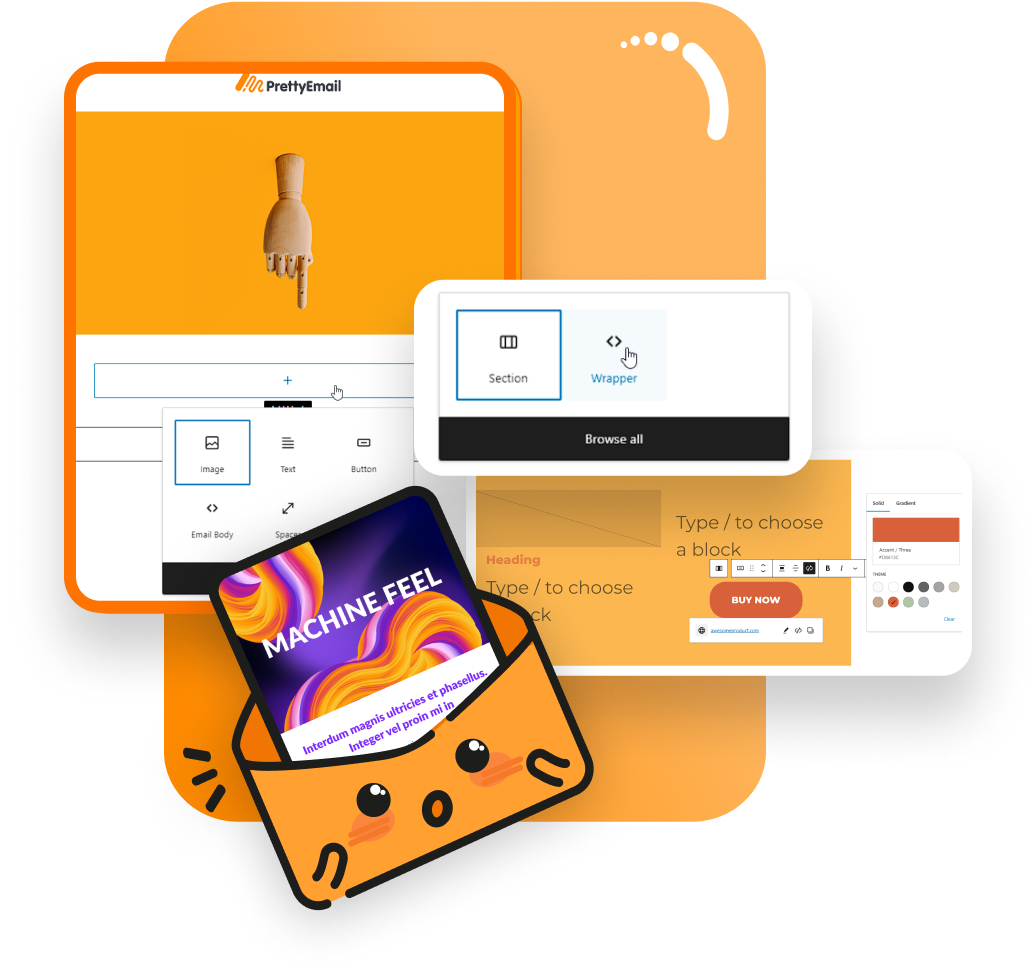
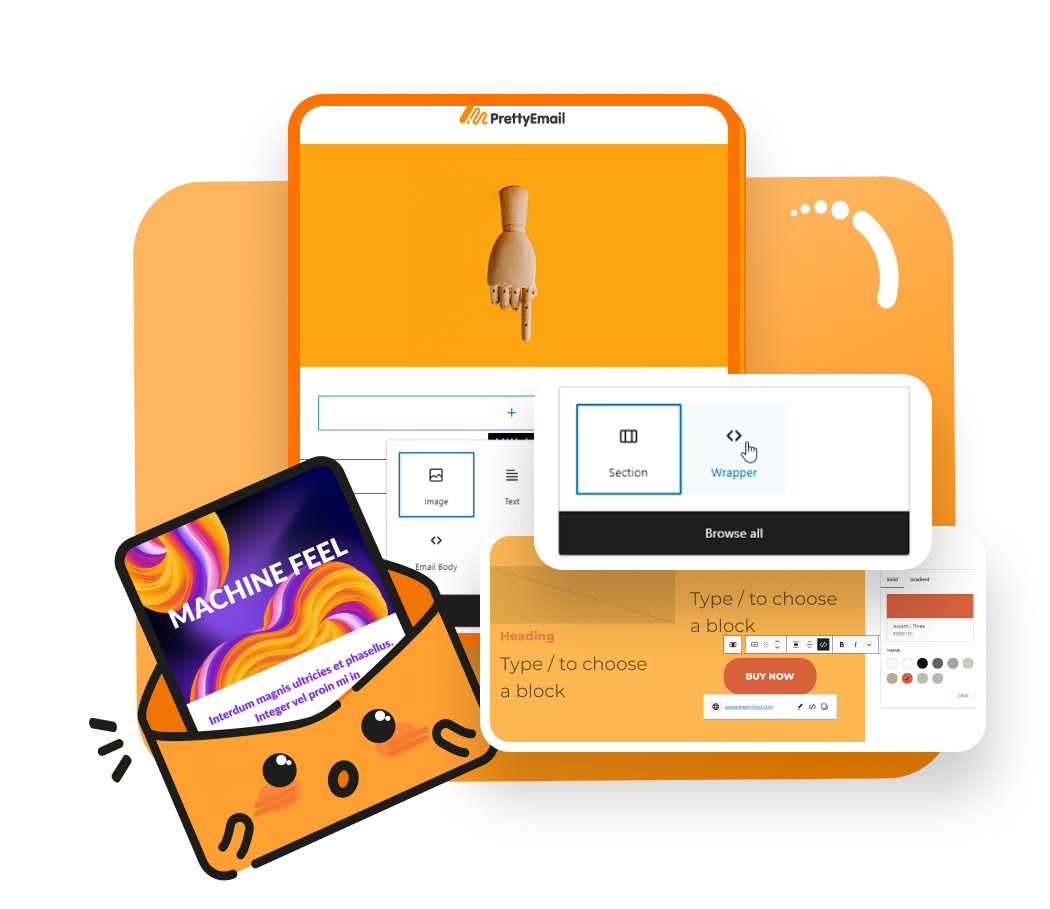
Pretty Email
WordPress email customizer, to design perfect messages using Gutenberg blocks.
Notification for WP
Easy-to-use and developer-friendly notification system for WordPress.
Advanced Cron Manager
Manage WordPress Cron like a PRO and get detailed insights into the WP Cron system.
Easy Watermark
Automatically watermark your WordPress media using image or text.
Pretty Email
WordPress email customizer, to design perfect messages using Gutenberg blocks.
Documentation
See the user and developer documentation
- Help Center
- Hire Us
- Plugins
Notification for WP
Easy-to-use and developer-friendly notification system for WordPress.
Advanced Cron Manager
Manage WordPress Cron like a PRO and get detailed insights into the WP Cron system.
Easy Watermark
Automatically watermark your WordPress media using image or text.
Pretty Email
WordPress email customizer, to design perfect messages using Gutenberg blocks.
Documentation
See the user and developer documentation
- Help Center
- Hire Us